概览:在四节点测试集群上把 OSD、MON、MGR 挨个删掉再抢救回来
含一次失败的 MON 手动重建记录(方案1原样保留),以及最终可行的方案2
环境配置概览
| 节点 |
IP |
OS |
版本 |
配置(测试环境) |
| ceph01 |
192.168.3.164 |
Ubuntu 18.04 |
16.2.9-1bionic |
2C 4G 16G(系统) 100G(OSD) |
| ceph02 |
192.168.3.167 |
Ubuntu 18.04 |
16.2.9-1bionic |
2C 4G 16G(系统) 100G(OSD) |
| ceph03 |
192.168.3.168 |
Ubuntu 18.04 |
16.2.9-1bionic |
2C 4G 16G(系统) 100G(OSD) |
| ceph04 |
192.168.3.165 |
Ubuntu 18.04 |
16.2.9-1bionic |
2C 4G 16G(系统) 100G(OSD) |

OSD维护
维护前须知!!!

1
2
|
ceph osd crush reweight osd.1 0
|
1,删除OSD
1
2
3
4
5
6
| systemctl stop ceph-osd.target
ceph osd out osd.1
ceph osd rm osd.1
ceph osd crush rm osd.1
ceph auth del osd.1
ceph osd tree
|

1
2
3
4
| parted -s /dev/sdb mklabel gpt mkpart primary xfs 0% 100%
reboot
mkfs.xfs /dev/sdb -f
lsblk
|

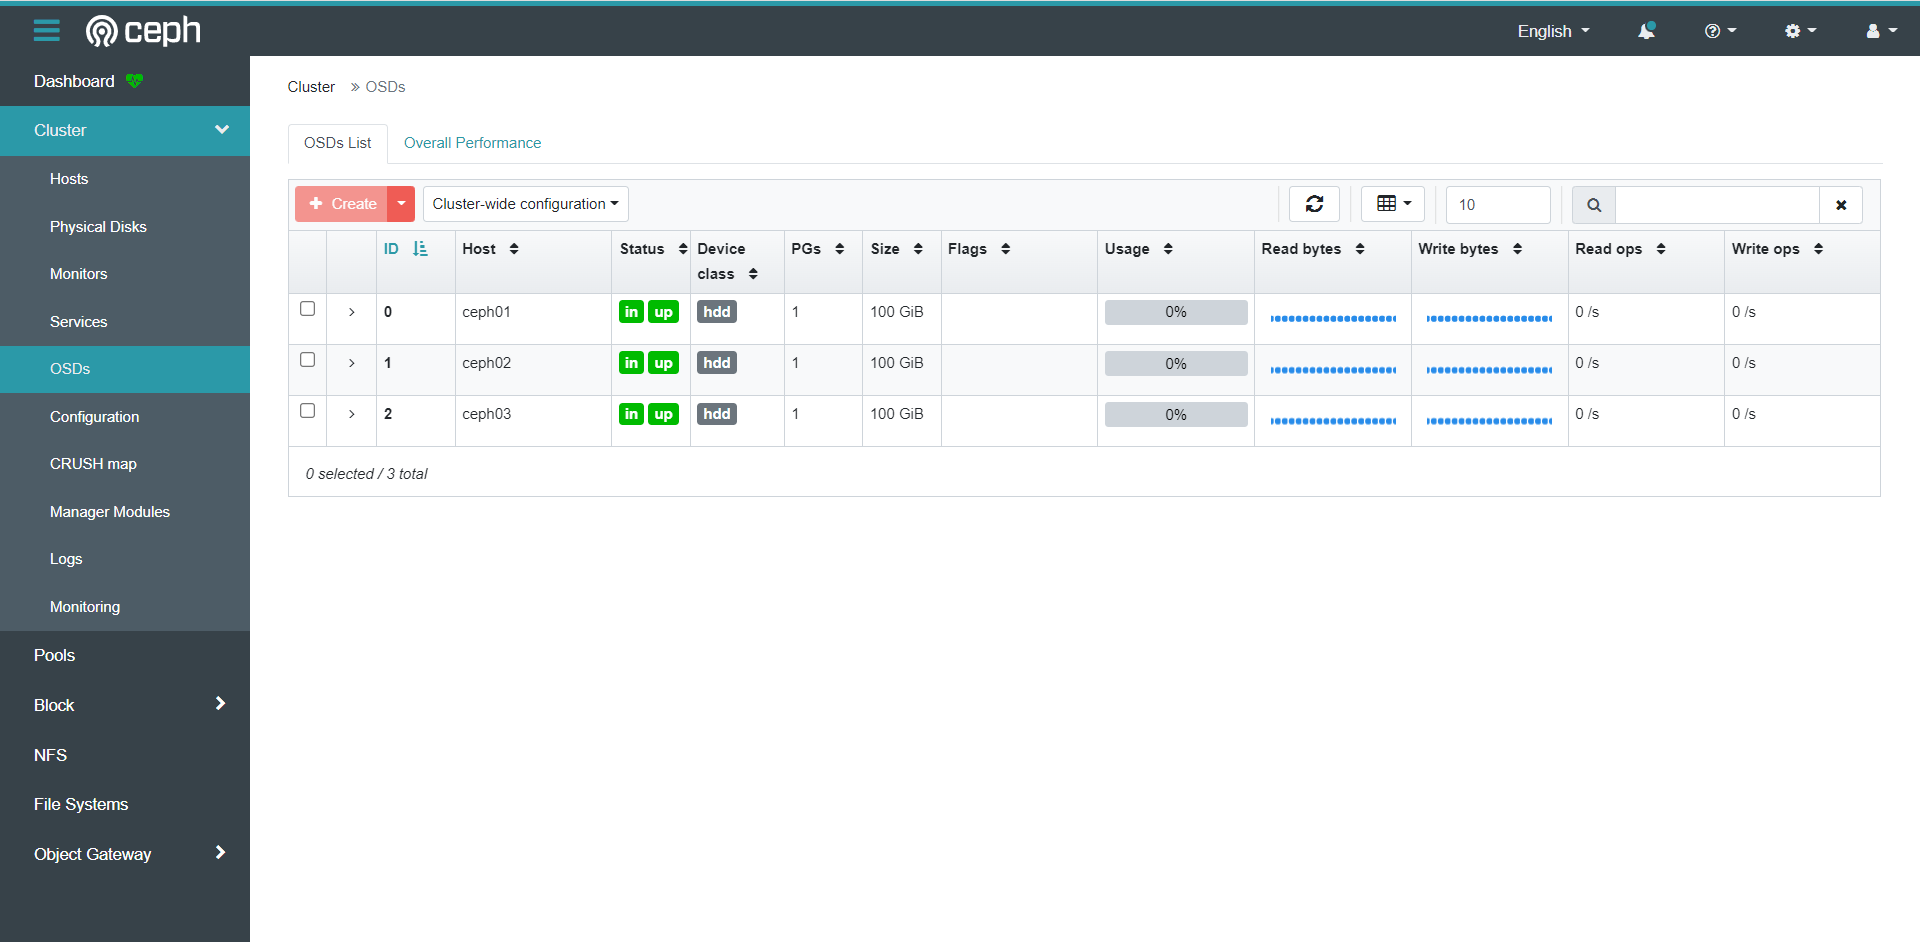
2,重建OSD
1
2
| ceph-deploy osd create ceph02 --data /dev/sdb
ceph osd tree
|

MON维护
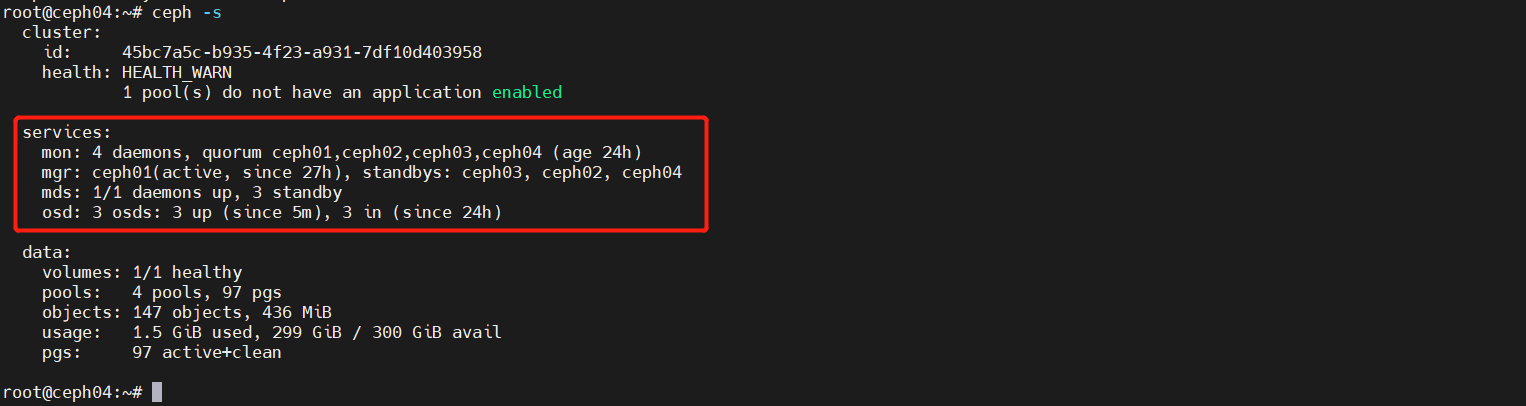
1,删除MON节点
1
2
3
4
|
ceph mon stat
ceph mon remove ceph04
ceph mon stat
|

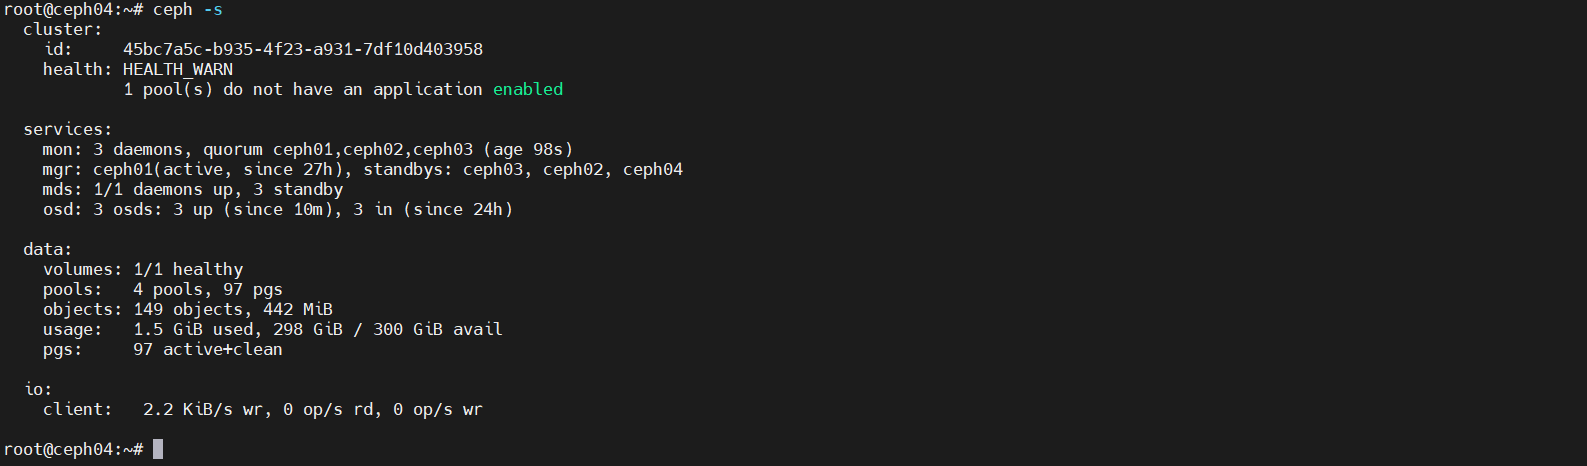
2,重建mon节点
方案1(失败)
下面是当时照着资料手动重建 mon 的完整尝试,原样保留——最后没成功,赶时间的直接看方案2。
1
2
3
4
5
6
7
8
9
10
11
12
13
14
15
16
17
| rm -rf /var/lib/ceph/mon/ceph-ceph04
ceph-mon --mkfs -i ceph04 --keyring /etc/ceph/ceph.mon.keyring
mkdir /var/lib/ceph/mon/ceph-ceph04/
mkdir /var/lib/ceph/mon/ceph-ceph04/store.db/ -p
touch /var/lib/ceph/mon/ceph-ceph04/systemd
touch /var/lib/ceph/mon/ceph-ceph04/done
ceph auth get-or-create mon.ceph04 mon 'allow rwx' osd 'allow *' -o /var/lib/ceph/mon/ceph-ceph04/keyring
chown -R ceph:ceph /var/lib/ceph/mon/ceph-ceph04
ceph mon add ceph04 192.168.3.165:6789
systemctl status ceph-mon.target
|
方案2(成功)
1
2
3
4
5
| cd /var/lib/ceph
rm mon -r
mkdir mon
chown ceph:ceph mon
ceph-deploy mon add ceph04 --address 192.168.3.165
|
mgr维护
1,删除MGR
1
2
|
systemctl stop ceph-mgr.target
|
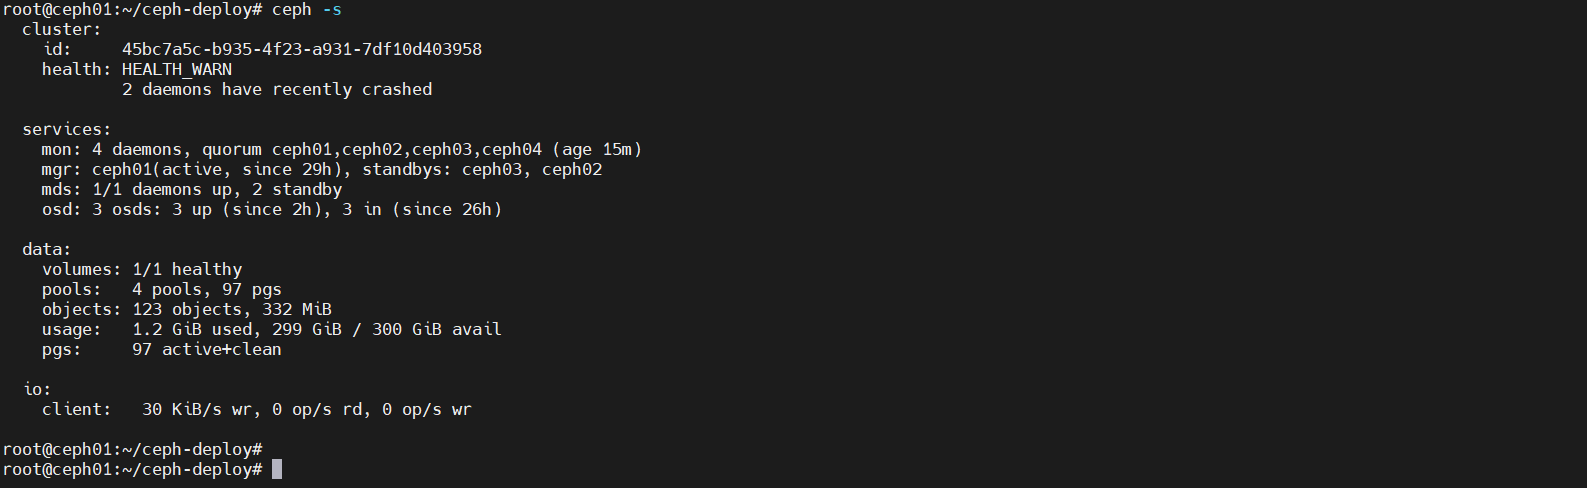
2,重建mgr
1
| ceph-deploy mgr create ceph04
|
集群维护
1,删除节点
1
2
3
4
5
6
7
8
9
10
11
12
13
14
15
|
rm -rf /etc/ceph/*
rm -rf /var/lib/ceph/*/*
rm -rf /var/log/ceph/*
rm -rf /var/run/ceph/*
rpm -qa|grep ceph
rpm -e python-cephfs-12.2.10-0.el7.x86_64 --nodeps
rpm -e ceph-base-12.2.10-0.el7.x86_64 --nodeps
rpm -e libcephfs2-12.2.10-0.el7.x86_64 --nodeps
rpm -e ceph-common-12.2.10-0.el7.x86_64 --nodeps
rpm -e ceph-selinux-12.2.10-0.el7.x86_64 --nodeps
ceph-deploy purge ceph02
ceph-deploy purgedata ceph02
|
2,重新安装节点
3,添加节点
1
2
3
|
apt-get install ceph -y
dpkg -l | grep ceph
|
1
2
3
4
5
6
7
| cd /root/ceph-deploy
ceph-deploy admin ceph04
ceph-deploy --overwrite-conf config push ceph04
systemctl restart ceph-mon.target
ceph-deploy osd create ceph04 --data /dev/sdb
ceph-deploy mon add ceph04 --address 192.168.3.165
ceph-deploy mgr create ceph04
|
重启相关操作
1
2
3
4
5
6
7
8
9
10
11
12
13
14
|
systemctl restart ceph-mgr.target
systemctl restart ceph-mds.target
systemctl restart ceph-radosgw.target
systemctl restart ceph-mon.target
登录到osd01节点上,该节点上运行有三个osd daemon进程osd.0、osd.1、osd.2
systemctl restart ceph-osd.target
systemctl restart ceph-mds.target
|